Designing for DIY

At a recent audio swap meet, I had the chance to meet Matt from Toolshed Amps (check out his great looking work here!). We talked quite a bit about tubes and audio design and our different approaches to the same goal (quality sound). It was interesting and relevant enough for me to want to share some thoughts here on the blog as well.

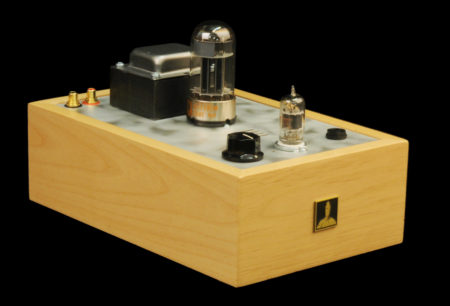
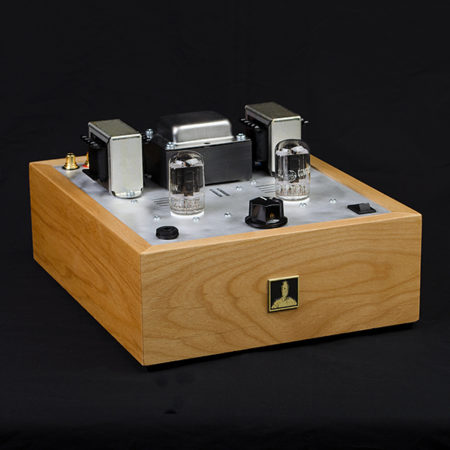
On the surface, the differences between what Matt and I create seem obvious. Matt favors classic triodes like 2A3, 1626, or 45. Supporting components include tube rectifiers, big can caps, and Magnequest (!) iron. His amplifiers are housed in meticulously handmade chassis with intricate etching. In short, Toolshed Amps lives up to its name and the cottage industry tradition of passionate small-batch craftsmanship. I love it.

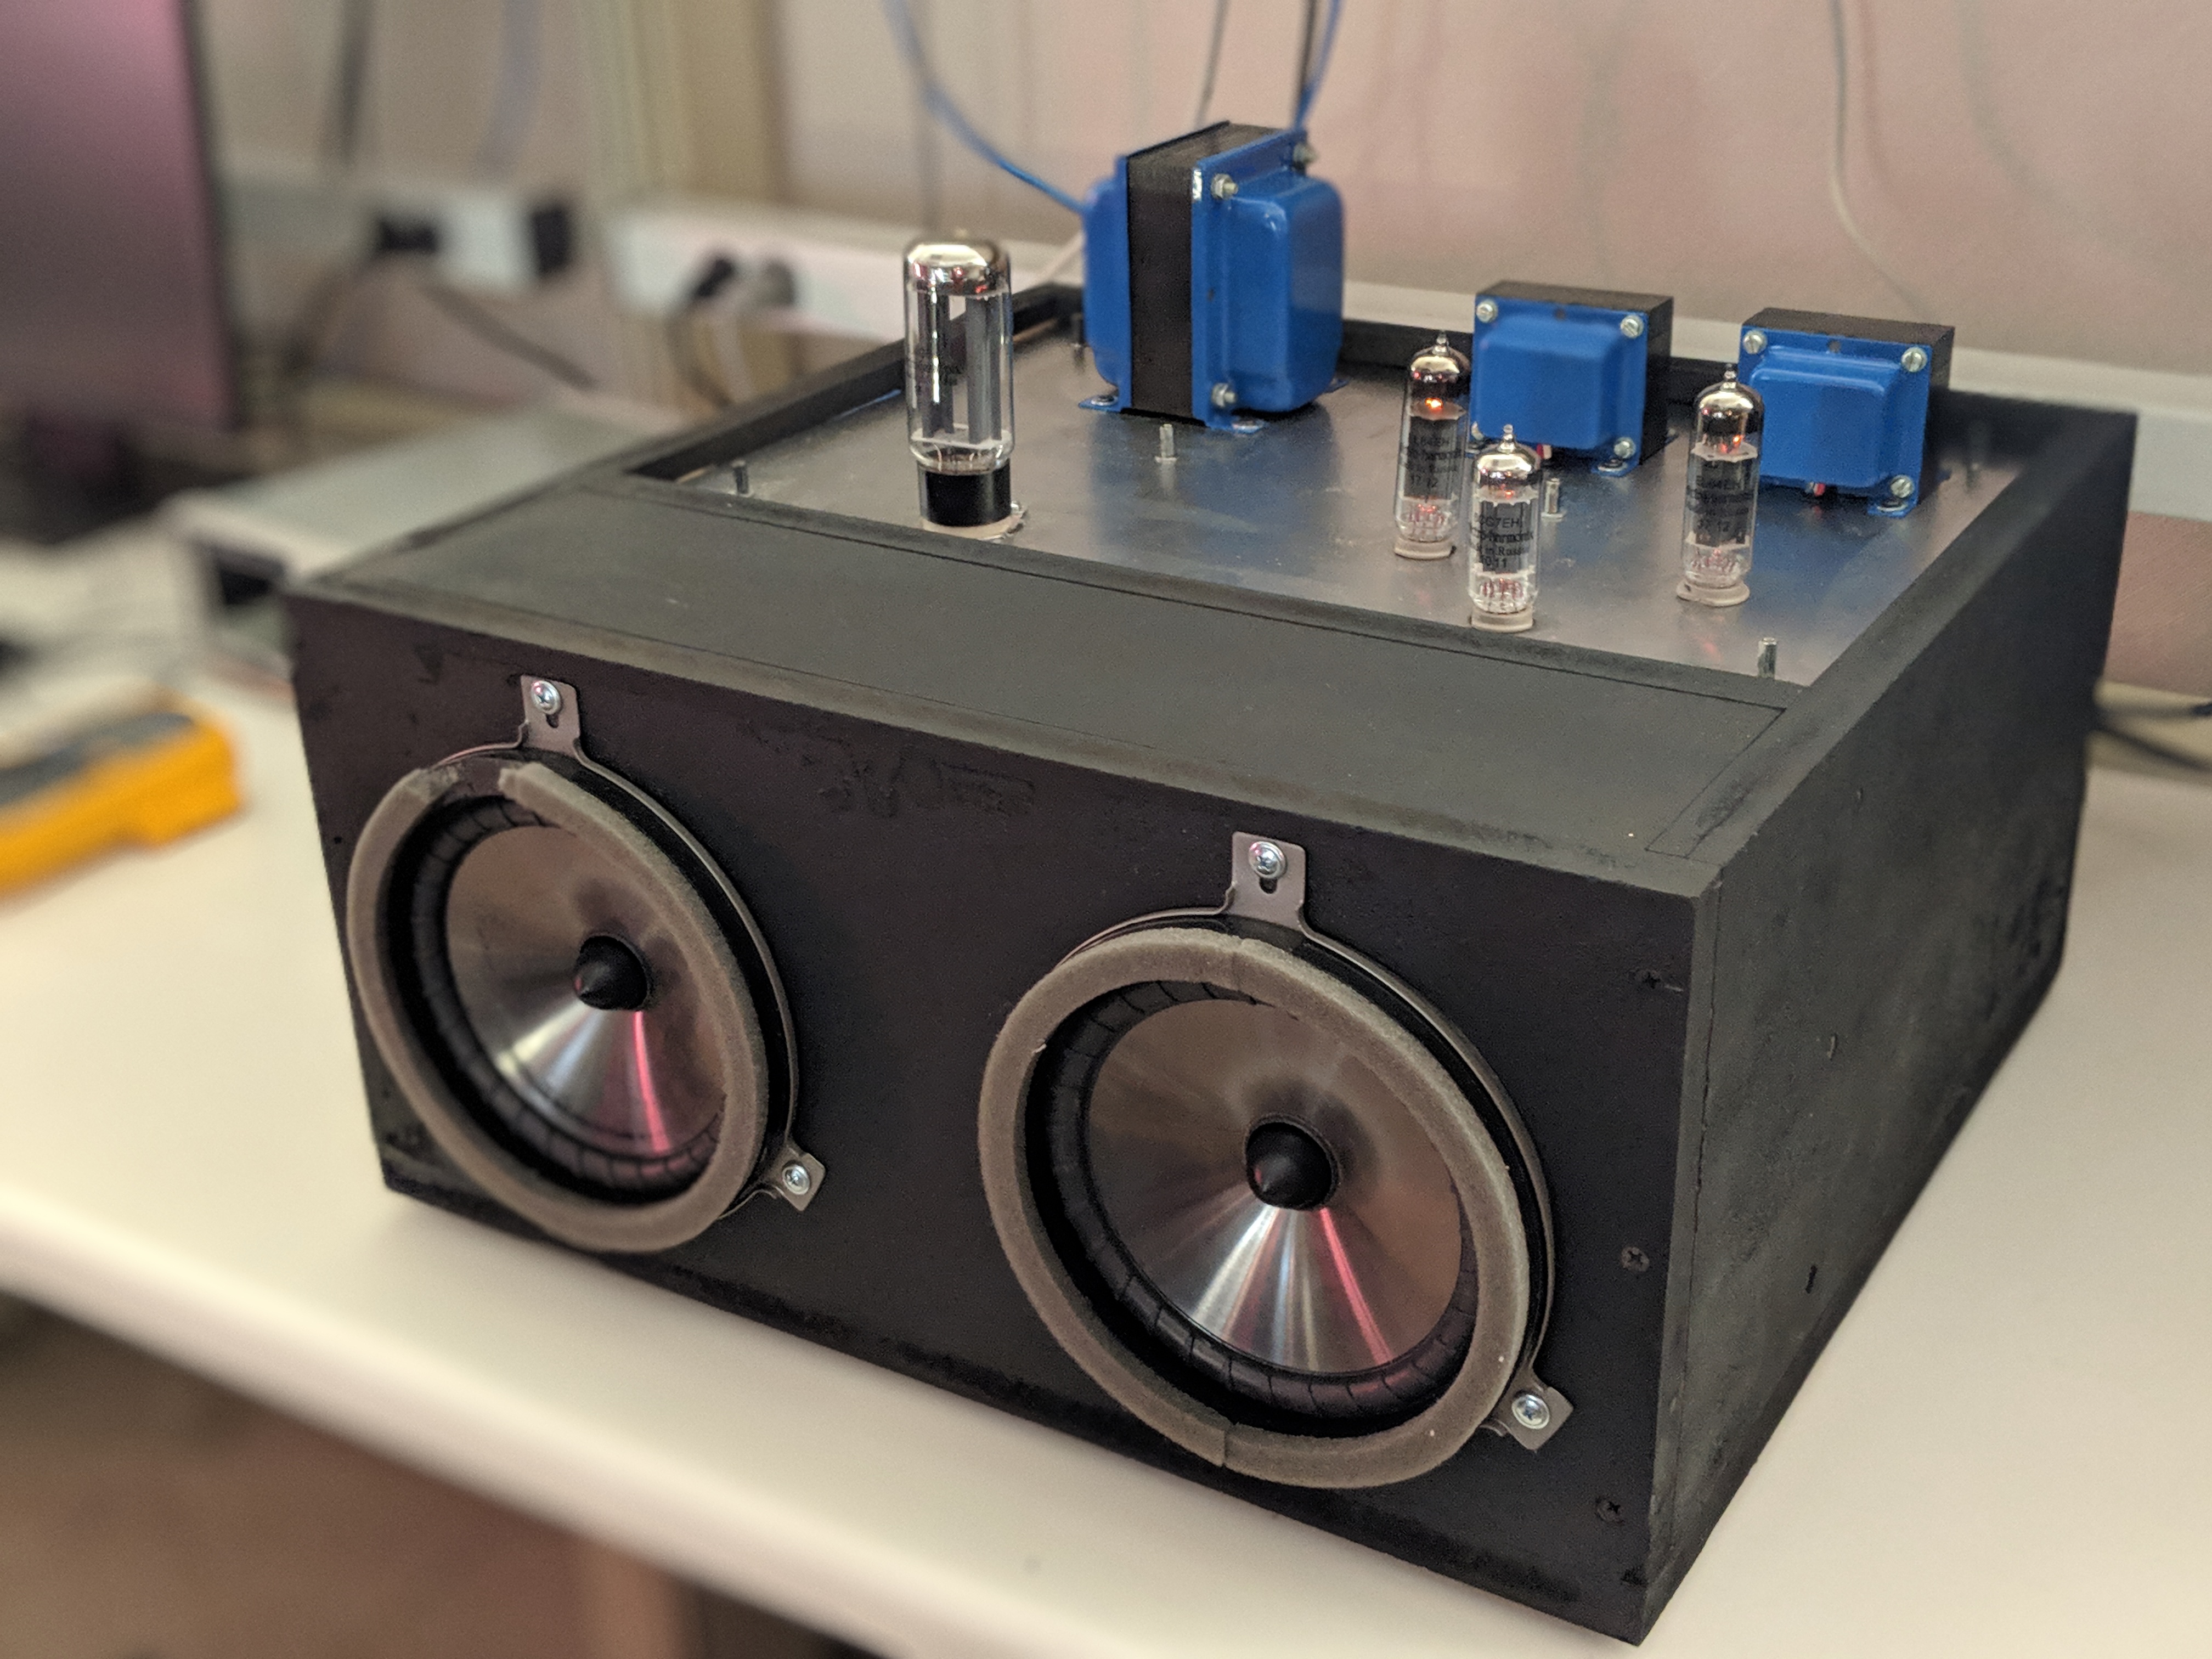
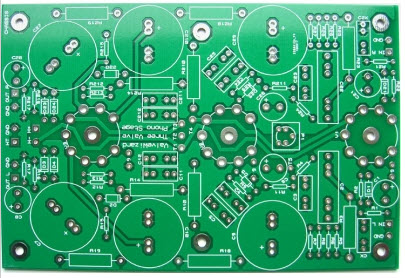
WTF Amps is a DIY-focused project first and so I try to design with other builders (not just end-users) in mind. In addition to quality audio, this creates some hobby-specific goals that guide many of my design decisions. At times there is even conflict between these goals:

  • Parts availability and flexibility
  • Novel and exploratory circuits
  • Simplicity and intelligibility

I like looking for NOS tube hidden treasures and am always hunting for a deal on second-hand transformers. When I publish a design to be replicated by others though, I have to be cognizant of the availability of the parts I specify and whether alternatives exist. You’ll find more Hammond/Edcor iron in my designs than Tango/Magnequest not just because of costs, but because they’re widely available. Similarly, although I love the 5965 tube, I’ll probably specify a 12AT7 because they’re in current production. Where I favor easy-to-find parts, I still design (and write) for flexibility in upgrades or tube substitution.

I believe that the DIY tube hobby (like most hobbies) is a journey. As we progress in the hobby and our repertoire of concepts and circuits grows, the uncommon and novel designs are what keep us building and learning. Building leads to experience and self-evaluation, which leads to conceptualization and experimentation (side note: andragogy is the method and practice of adult learning). I should note that playing with new circuits and approaches are as much for myself as they are for the readers!

The last guiding principle (simplicity and intelligibility) is often at odds with the need to explore new things. If I publish a DIY design, I would like to be able to explain it in a project write-up as well. Some of this is accomplished when I’m researching topologies but complex projects (even if the component parts are simple) are a daunting task. The urge to push the design envelope is always there, but I’ve learned to take baby steps and rely on conceptual stepping-off points for published projects. This is good general advice for the hobby as well. Don’t rush it; build what you know and iterate.

So in summary, do I want to build an A2 DHT amplifier with Tango iron, 274B rectifiers, regulated everythings, TVC attenuator, and a rosewood enclosure? You bet your butt. Do I respect guys like Matt who do (and do it well)? Darn straight. But this kind of all-out end-game amplifier wouldn’t quite fit with my DIY-friendly design goals. On the other hand, WTF Amps will try to get you as close as possible to building one of these yourself with available parts and easy-to-understand write-ups. The last mile is just up to you.

A Mighty Cacahuate caught in the wild

Student “D” sent me some pictures of his Mighty Cacahuate project with a twist and it’s too unique not to share. D developed a PCB for his build and mounted all the amplifier parts to a top plate as would usually be done. Instead of a boring wooden box, D dropped this into a boombox enclosure for all-in-one listening. I love to see the creative use of a basic schematic I posted here on my little website.

We initially troubleshooted some wiring over email, mostly due to my omission of the details of heater wiring and pin numbers on the original schematic. Once sorted though, D says the amp started playing and sounding great without a hitch.

It was an amazing feeling the first time they powered on.

-D

Careful there, D, that feeling is habit forming!

Update on the mono-blocks: left channel is done and right channel is coming together quickly. Write-up for the project is also underway. Looking forward to playing in stereo!

EL34 tester tubes, also considering springing for KT88s on this project
Night shot. Red glow through the vents is LEDs used as voltage references in CCSs inside.

Letters to WTF: Holiday Gifts for the Tube DIYer?

Q: A simple question – is it possible to purchase a kit from you? If not, are there decent kits you would recommend for a first-time tube build? My husband has built a couple of solid state preamps and power amps and is intrigued by tube ware.

A: Your husband is a lucky guy to have someone encouraging his hobby!

I don’t sell any kits for my builds at this point (though I do send out prototype PCB boards to my Patreon subscribers on occasion). I am happy to provide some recommendations for beginner-friendly tube projects and/or gift ideas, though. Some of these are PCB boards that require you to select parts (or leave your husband to do so afterwards). Many builders enjoy the process of picking out and sourcing parts, so this isn’t necessarily a bad thing  and you might include a ‘parts budget’ as part of the gift in that case. 

Tubecad.com makes some of the best documented and flexible board kits you can find for tube hobbyists.  In particular, the Aikido and CCDA designs have a great following and lots of user support on community websites like diyaudio.com:

Aikido Noval Stereo
TubeCAD Aikido (click to go to listing)
9-Pin CCDA PCB and User Guide
TubeCAD CCDA (click to go to listing)

Note the above let you add parts or order boards by themselves. Adding parts might be tricky for you to do without your husband’s input, though TubeCAD does a good job keeping the options and confusion to a minimum.

Here’s another PCB board (no kit) for a phono preamp (for turntables) that I can also recommend. The designer of this one is another well-known author on tube topics:

Valve Wizard Phono Board (click to go to listing)

Bottlehead is one company that gives you everything you need in a full kit. They have a lot of tube kit options at different price points. If your husband also listens to headphones, this company is especially well-known for their headphone amp kits (two options below, but explore the site to find more). 

Bottlehead Crack (click to go to listing)
Bottlehead Single Ended eXperimenter’s Kit (click to go to listing)

Bottlehead’s kits are pricier, but the documentation and the all-in-one nature add a lot of value for beginners. 

Lastly, Elekit is another Japanese company that does all-in-one kits. These are available through the diyAudio Store.  I don’t have personal experience with Elekit kits, but I have read a lot of good things (and the manuals I’ve seen look very well-done).

Elekit TU-8500 (click to go to listing)
Elekit TU-8100 (click to go to listing)

Hopefully you find something in your budget in the above links.  I think anything you do to show an interest in his hobby will be very well received!  

A PCL86 SET kit with chassis from the DIY Audio Store

The DIY Audio Store (part of the diyaudio.com forums) is now selling the Elekit TU-8100 PCL86 kit:

TU-8100.jpg

At only $275, this 2W output kit is about as low an entry point to all-in-one well-documented tube kits as you’re likely to find. It includes two inputs (rear and 1/8″ front) and is powered by a 12Vdc power brick. This keeps the amp small enough for even desktop usage (5.5″ square). According to the ad copy, SMD components (DC booster, etc) come pre-soldered.

The PCL86 is a 9 pin triode + pentode roughly equivalent to a 12AX7 and EL84 in a single envelope. See a datasheet here. It’s used in the Elekit in a traditional two stage cap-coupled single-ended arrangement. The output transformers are rated as a 7k primary and the circuit employs global feedback to squeeze some extra linearity out of the high gain input stage. See the Mighty Cacahuate for a similar design (no feedback and 6CG7 instead of 12AX7).

If you’re hoping to find a tube kit under the tree this year, add this one to your Christmas list. Elekit puts out some very cool products and purchasing through DIY Audio Store helps support one of our hobby’s precious resources.

I have no affiliation with Elekit or DIY Audio (other than sincere admiration).

Thomas Mayer’s new site

I’ve followed Thomas Mayer’s hobby website for a long time. He uses a tantalizing mix of high quality transformers and DHT tubes to build some beautiful audio devices. The tube of the month series is also a must-read review of odd-ball tubes and applications.

Now we can all see how much Mayer charges for his impressive tube builds. It’s about what one might expect based on the craftsmanship he clearly puts in and what the audiophile market supports in other products.

Check out vinylsavor.com here. If nothing else, browse the galleries and drool over the very Scandinavian glass, wood and metal work.

vinylsavor.png

The Nuvistor and Bob Katz’s Audio Blender (via Inner Fidelity)

Bob Katz has been writing a series of articles over at InnerFidelity for several years and they’ve recently taken a turn down a more experimental path. His most recent article details a device that mixes a transparent solid state signal and a Nuvistor signal biased to provide a distortion spectrum with just a small percentage of second harmonic. Check out his write up here!

nuvistor

A Nuvistor is a small metal and ceramic tube released by RCA just as transistors began supplanting vacuum tube technology in most electronics. They are a true vacuum tube with familiar triode operation and characteristics and an indirectly heated cathode. The most common Nuvistor in consumer electronics was the 6CW4 (high Mu) though there are several triode flavors and even a couple of tetrodes.

nuvistor cutaway.png

Because they were originally intended for radio and TV usage, Nuvistors enjoy very good bandwidth, low noise, and high gain (high Mu variants).  The metal envelope is integrated with the basing and the tube plugs into what RCA dubbed the Twelvar base. You can probably guess how many pins that had. With the Nuvistor, RCA also introduced the RCA Dark Heater, a lower temperature filament that guaranteed higher stability and less AC leakage. Despite this innovation, most Nuvistor heaters require around 1W to light (e.g. 150mA @ 6.3V).

The 8056 used in Bob Katz’s project has the following characteristics:

8056 characteristics.png

And the following very respectable plate curves:

8056 plate curves.png

With a modest Mu, low plate resistance, and very low B+, it’s no wonder Bob decided to marry this interesting tube to a solid state partner for his Blender. The 8056 heater requires 6.3V at 135mA. At this voltage and heater requirement, it’s close to being practical for modern portable devices. In their heyday Nuvistors were used in battery-powered and efficiency-critical applications like the US Space Program and military radios and communications equipment.

Would I ever build something with Nuvistors? It’s tough to say.  I’ve been on a casual hunt for tubes that might be suitable in a portable battery-powered application. Other candidates are the Korg Nutube or the sub-mini 6088. Like all things in this hobby, there are trade-offs. The Nuvistor 8056 heaters are hungry relative to these other options, but the other characteristics are very attractive. In all likelihood, I’ll try them all eventually. This is why I DIY.

Ode to the ST-70

dynaco st70.png

The ST70 is a beautiful and historic amplifier (and surprisingly compact if you see one in person). It’s also the best selling power amp of all time (at least so says Wikipedia). All things Dynaco inspire much talk here around the water cooler at the WTF Amps institute of higher learning about vacuum tube stuff. Here are some loosely organized tidbits and thoughts on amplification!

Generalized Topological Design Trends in Discrete Amplification

Forget for a moment that some amps are made with tubes while others are made with transistors. Deep down in their vacuum or silicon hearts they are really both just simple three-pin devices used to accomplish the same thing (gain). Forget all the audio-speak we abuse in our efforts to approximate the many facets of circuit performance. Forget the preconceptions we file away in our minds under “T” for tube or “S” for solid state. We aren’t thinking about tubes or transistors, right? Good.

To SE or PP (tee-hee)

Beyond all other aspects, the amplifier topology choice that impacts a design the most -in performance, efficiency, and cost- is whether the amplifier will be single-ended or differential. The difference can be boiled down to whether the amplification devices handle the entire signal through to the output (single-ended) or “split” the signal phases and re-combine them at the output (differential). Differential amplifiers are sometimes also referred to as push-pull. There is no such thing as balanced amplification, but that’s another discussion.

Single-ended amplifiers tend to be more inefficient in both a power consumption and economic sense. Because they are Class A by necessity, they dissipate more heat per watt of amplification. Single-ended amplifiers need a squeaky clean power supply to achieve a respectable noise floor because they do not benefit from the same kind of ripple rejection as differential amplifiers. They tend to produce more distortion, but the distortion that they produce usually has an even-order-dominated harmonic spectrum. Studies say even-order distortion harmonics are less offensive to most listeners.

In contrast, differential amplifiers produce less distortion when designed well, but what they do produce is dominated by odd-order harmonics, which are less pleasing to most listeners. Differential amplifiers are capable of far more efficiency than single-ended amplifiers because both output phases do not need to be “on” all the time. By nature, differential amplifiers reject power supply noise because they only amplify the difference between the phases and any power noise appears equally in both.

/r/outoftheloop

The distinction between single-ended and differential is the most fundamental taxonomy that can be applied to amps. The next most important design choice with regards to the circuit and its behavior is whether the amplifier will be open-loop or closed-loop. A closed-loop amplifier injects a portion of the output back into the circuit in order to correct non-linearities created by the act of amplifying with non-imaginary devices. This requires extra gain from the amplifier to be spent on suppressing these distortions. An open-loop amplifier is able to get by with less overall gain and enjoys more polite clipping behavior at the expense of generally higher THD. We are very deliberately avoiding the term ‘negative feedback’ here, by the way.

If you’re following along, you see that less-efficient single-ended amplifiers with less-objectionable distortion spectrum might naturally gravitate towards open loop circuits. Furthermore, you can imagine that more efficient differential amplifiers, with power to spare but a less pleasing distortion spectrum, are logical candidates for closed loop circuits. Your powers of comprehension do not fail to impress, dear reader. In practice a blend of single-ended and differential, open loop and closed loop, choices are made at the stage/component level in order to balance the relevant strengths and weaknesses, but the broader structure of amplifiers is usually one or the other.

WTF were we talking about again?

I’m going to tell you a secret now. Please do not react too loudly or cause a commotion. Come closer… Single-ended, differential, open loop, and closed loop has nothing to do with whether an amp uses tubes or transistors. Yes, that’s quite something isn’t it? While it’s true that historically certain devices and topologies are strongly associated one to another, this is a question of device availability coinciding with design trends and market demands, not choices dictated purely by the devices used.

This brings us back to the topic of the Dynaco ST-70. This is a closed loop differential amplifier running in Class AB, much like the earlier Williamson or Leak tube amplifier designs. The overall topology is not much different from current Class AB transistor amplification because these solid state amps are simply a continuation of the same design trend (AB differential, closed loop). While today we associate tubes with single-ended open loop design and transistors with differential closed loop design – and all the baggage these topologies drag about – the reality is that performance has more to do with circuit choices than with the devices used.

The ST-70 was in some ways a pioneer. Though it was not the first of its kind, it was the standard bearer of the contemporary design values. Today we prize much of the ST70’s topological progeny in solid state Class AB (whether integrated on a chip or built with discrete components) but we also revere designers such as Nelson Pass who is charting his own course through both open loop single-ended transistor and Class A low feedback differential amplification. Amplifier design is not so much a timeline as it is a spectrum; the limits to what constitutes good amplification (subjective as that may be) are found not in the parts choices, but in the creativity of the designer.

TL;DR: Design, not device, makes the amp.

Here’s Dan Fraser’s write-up on the launch of the modern ST-70 series 3 (Dynaco was purchased by Radial Engineering in 2014)

Listening on someone else’s system

Like many audio enthusiasts, I have a general philosophy for audio that guides me when designing (or shopping for) new gear. In a nutshell, I value an objective and empirical approach to design, but this is tempered by the notion that music is art. At its core, art appreciation is a subjective, and often situational, experience. Objective design for subjective ends reads like a paradox; designers have egos too and so maybe conflict between engineering and ‘the feels’ is inescapable. If you’ve been on audio forums or blogs long enough, you know that objectivity and subjectivity do not usually mix in the audiophile hobby. I’ll steer clear of that morass, save to add one recently encountered perspective.

Last weekend I delivered a preamp (design write-up on the way) to its new owner, J. We spent a couple of hours listening to his system with and without the new piece. J’s system is different than mine and the music it makes sounds different, too (including recordings I know). We both had fun going through albums and cranking up the tunes. In a way, it was a little like seeing a favorite group perform live. You know the music but can appreciate fresh nuance all the same. That we got to do so together, on a social level, only added to the enjoyment.

Now what if we were all uncompromising in our objectivity? What if all systems and designers pursued the same goal and weighed compromises equally? Worse yet, what if compromises did not have to be made and all playback was “perfect?” While I know this is ostensibly what many of us seek in the audiophile hobby, where would it leave the hobby on a social and experiential level? I would visit J and hear the same songs in the same way that I always do.

The art in music is not a one-way street. The lenses and filters we use to experience and share art enrich both the art itself and culture as a whole. The process of internalization, expression, and rebirth keeps music relevant and vital. I’m off into abstraction, but there is a kernel of truth for audio here, too: how terrible the tyranny of ‘exactly as the artist intended’ could be if we took it too literally.

You are the artist of your listening, the world is your mixing console, seek out new stereos, and all that jazz.